Imagine a home automation system where you can have sensors to measure movement, temperature, and ambient light. All these sensors need to be plugged into an Arduino board, along with the connections to tubelights, fans, and a thermostat. You take your program that makes the interaction work and upload it to the board. Now you have it all working, you mount the board on the wall and connect the rest of the circuitry. Hardware hacking success!
“I subscribe to the “lazy programmer” guild. Any process that I have to do repeatedly… reeks of automation opportunity.”
But, as with any project, you want to start simply with just one or two requirements. And then keep adding more during the course of time once you have something working. In the world of hardware this translates to adding more sensors and output components, and then changing your program and uploading the changes it to the board. But to do this you have to take the board off the wall and upload the changes. Meh.
I subscribe to the “lazy programmer” guild. Any process that I have to do repeatedly I consider to be “painstaking” and it reeks of automation opportunity. For me it is way too much effort to unmount the board every time I want read a new sensor value or use a new GPIO pin for output.
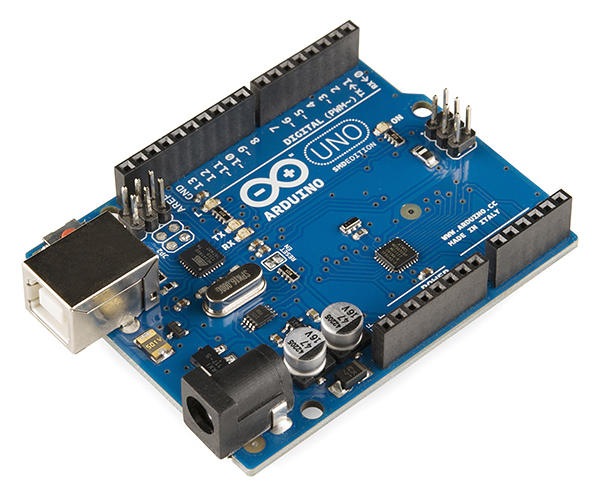
Throughout our hardware experiments at ThoughtWorks in Bangalore we have been using Arduino hardware. Arduino’s are the most popular hardware for prototyping today. Arduino itself is not just hardware, it is an open-source prototyping platform that can receive input from sensors and affect its surroundings by controlling actuators like lights, motors, etc. The typical workflow for hardware prototyping using Arduino involves three steps:
- 1: Build the board by wiring the electronic components together. You can buy these pre-assembled but what would be the fun in that?
- 2: Write a program to read command values from sensors. Arduino has it’s own programming language and Integrated Development Environment (IDE) to program the microcontroller on the board.
- 3: React to the commands. This is where you can get your actuators to do cool stuff!
An example of this could be if you want to switch on an LED when somebody walks into the room, you will use a motion sensor and then your program will monitor its input and set the LED to on or off accordingly.
To get all this working together you need to upload a program to the Arduino by connecting it to a computer through USB and then use the Arduino IDE. All sounds great right? Except the unmounting and mounting of your Arduino!
“you can configure new sensors… without having to re-write the program. All this without disturbing your Arduino sitting… in another room!
To do away with the need of disconnecting the Arduino from the circuit and connecting it to the computer, I wrote an Arduino program (also known as a sketch) which does not hardcode the input and output pins. Instead, it waits and accepts this configuration over a wireless channel created using cheap nRF24l01 modules. All you need is one module attached to the Arduino (receiver) and another module attached to either another Arduino or a Raspberry Pi (sender). The sender can then send configuration strings as commands like this:
- 2,3:4,5
This command tells the Arduino to make pins 2 and 3 the input and 4 and 5 the output. The Arduino will keep sending back periodic readings from pins 2 and 3.
Now, lets say we have an LED connected to pin 4 of the Arduino, we can send the following command to set HIGH output to pin 4.
- 4,1
Where 4 is the pin number and 1 means HIGH. Similarly, to turn off the LED one can send 4,0 to send a LOW signal.
This way you can configure new sensors and/or make new pins to output signals, without having to re-write the program. All this without disturbing your Arduino sitting in a complex configuration – even if it is in another room!
The code
Grab the repo at https://github.com/shaan7/arduino-sensor and follow the instructions. You will need one nRF24l01 module each for Arduino and the Raspberry Pi which is actually going to configure and control the Arduino board.